Earn the View!
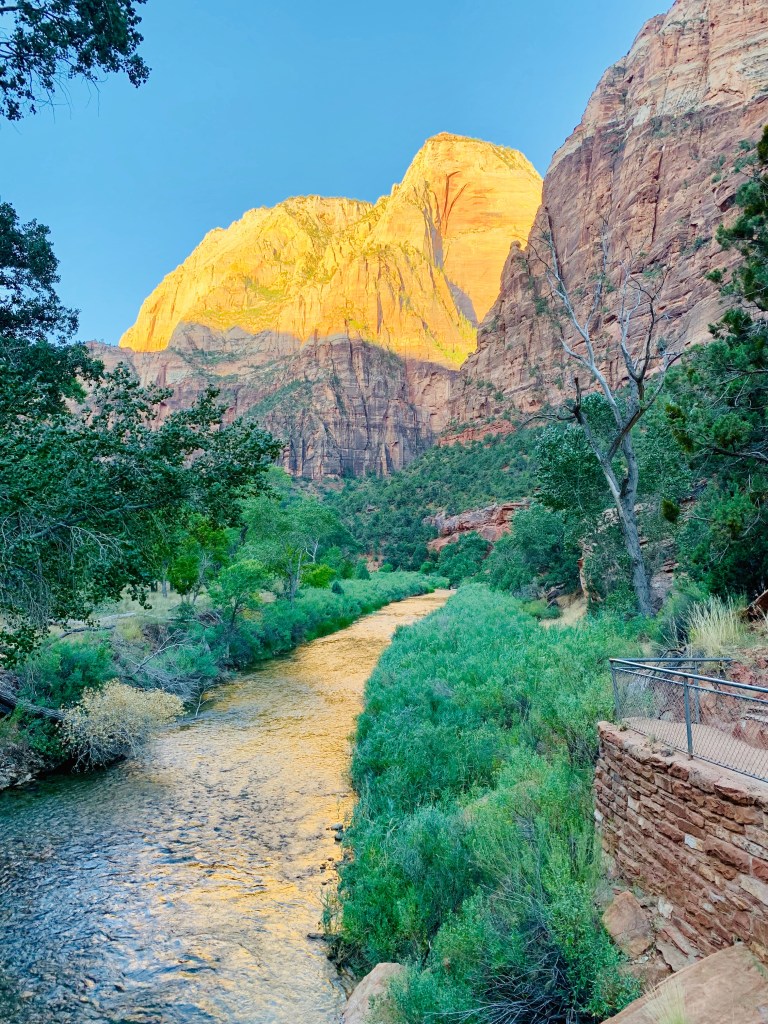
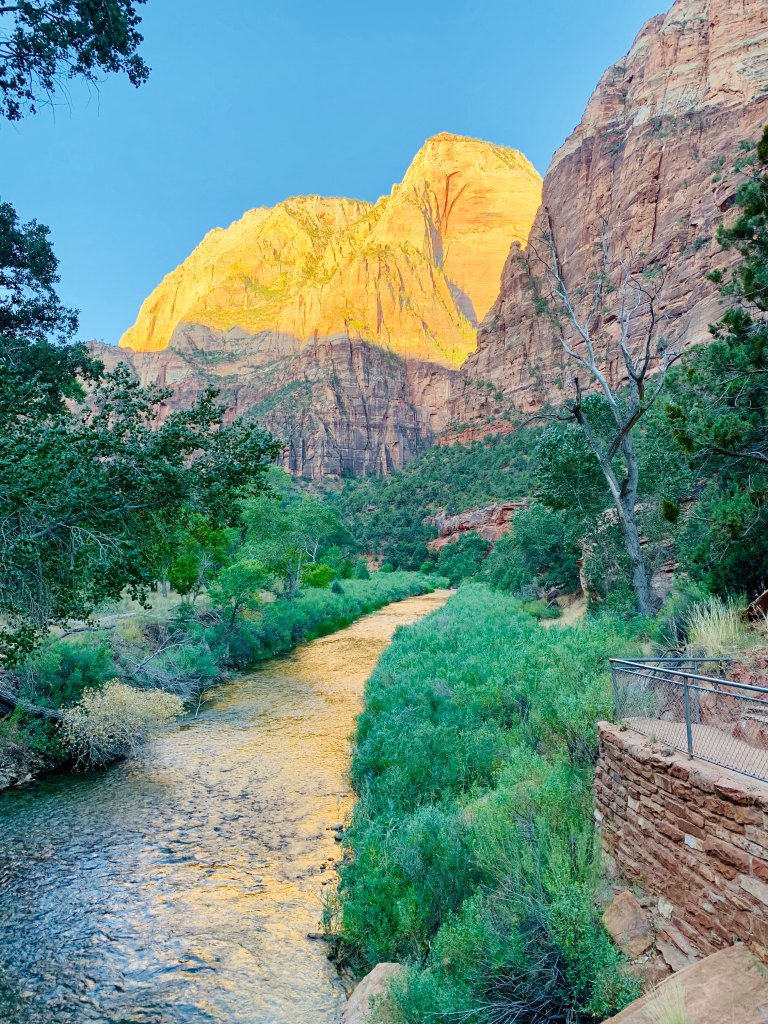
Before going to Zion National Park in September, I had NO idea how beautiful it was in person. I had done my research, looked at SO many photos, blogs, and reviews, but NOTHING did it justice for how breathtaking it is up close and personal. And no, I’m not exaggerating. Zion National Park was the first stop on a trip with my girlfriends to southern Utah and Northern Arizona and it did NOT disappoint! For our full detailed itinerary, see that blog post.
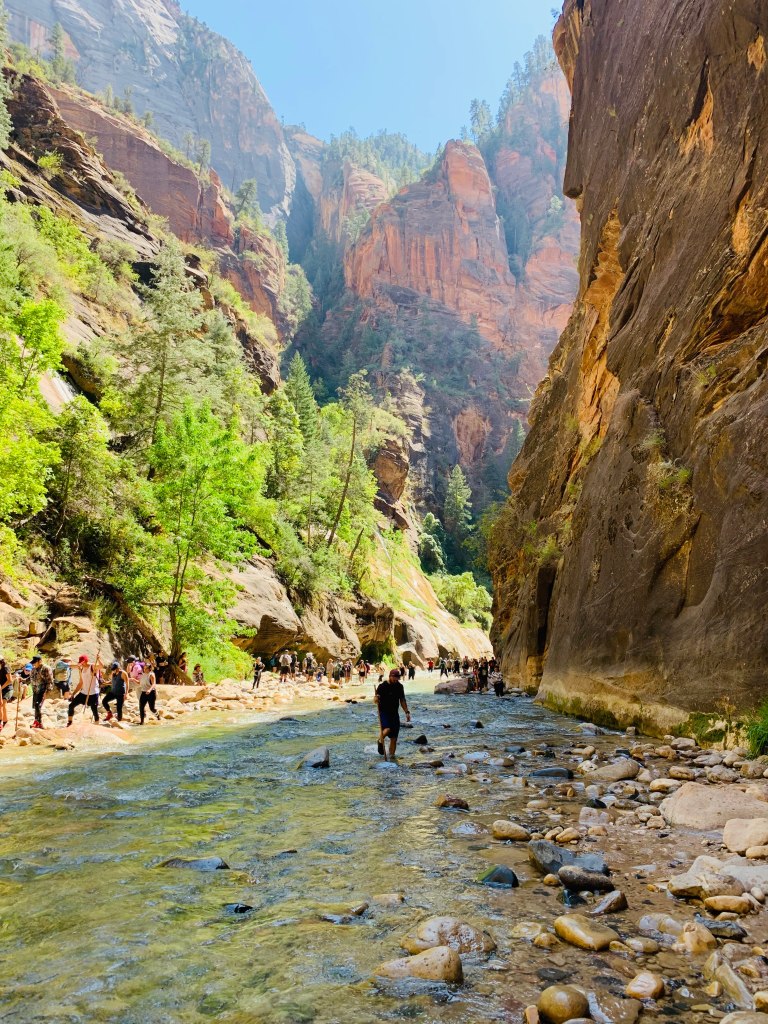
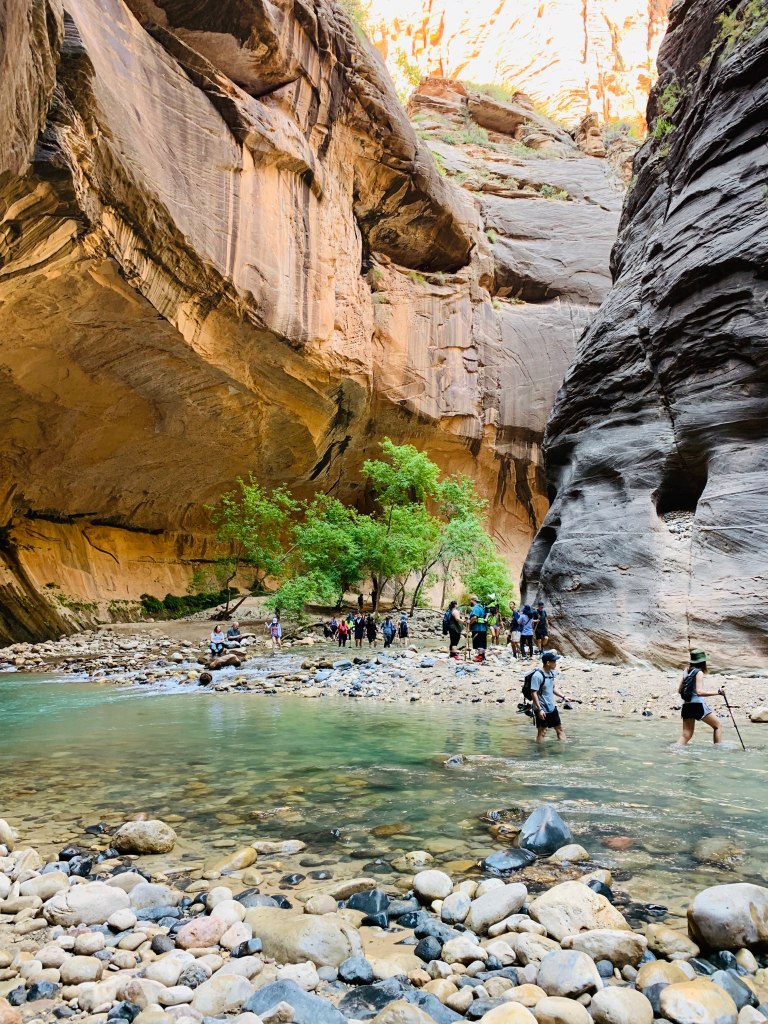
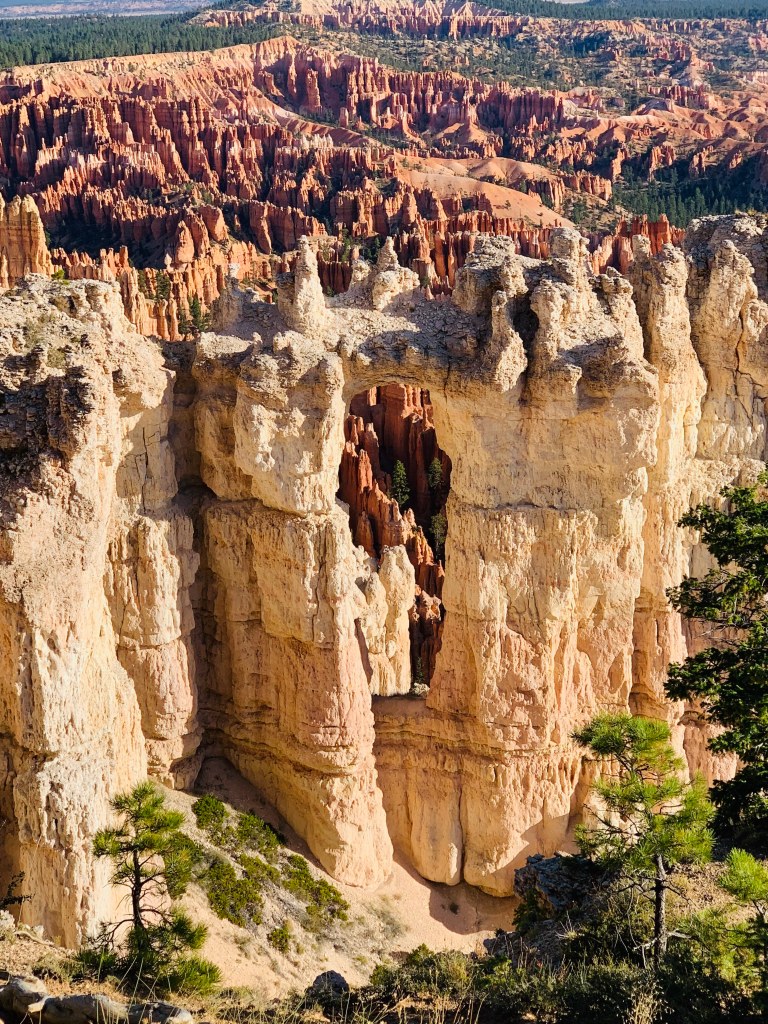
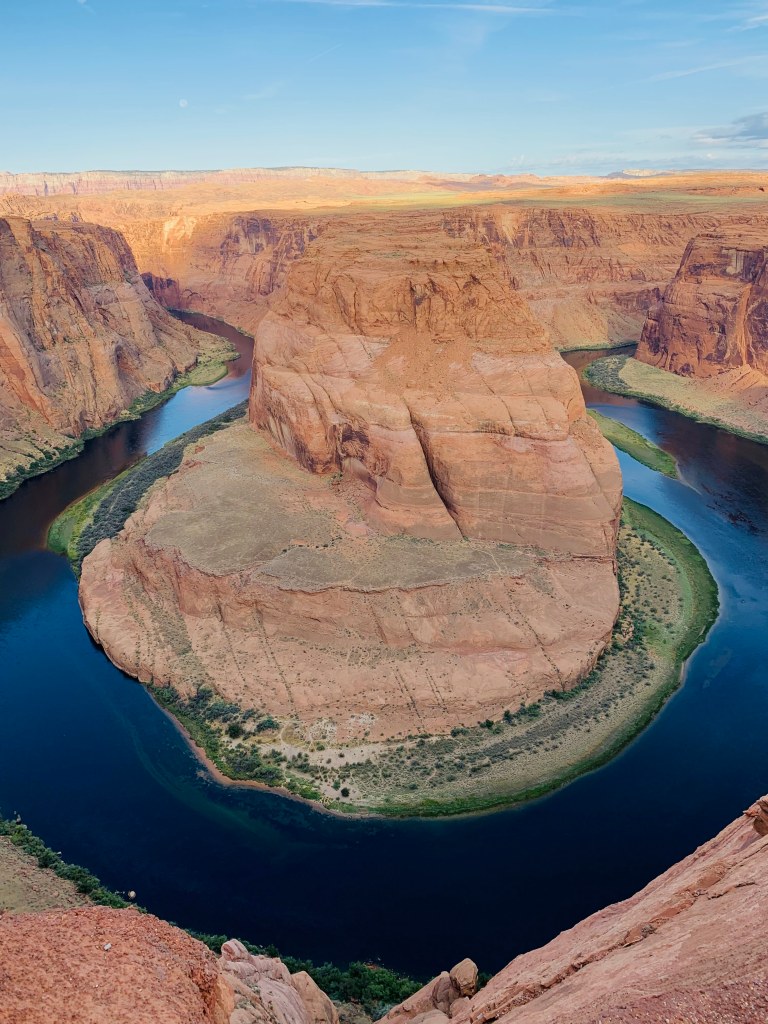
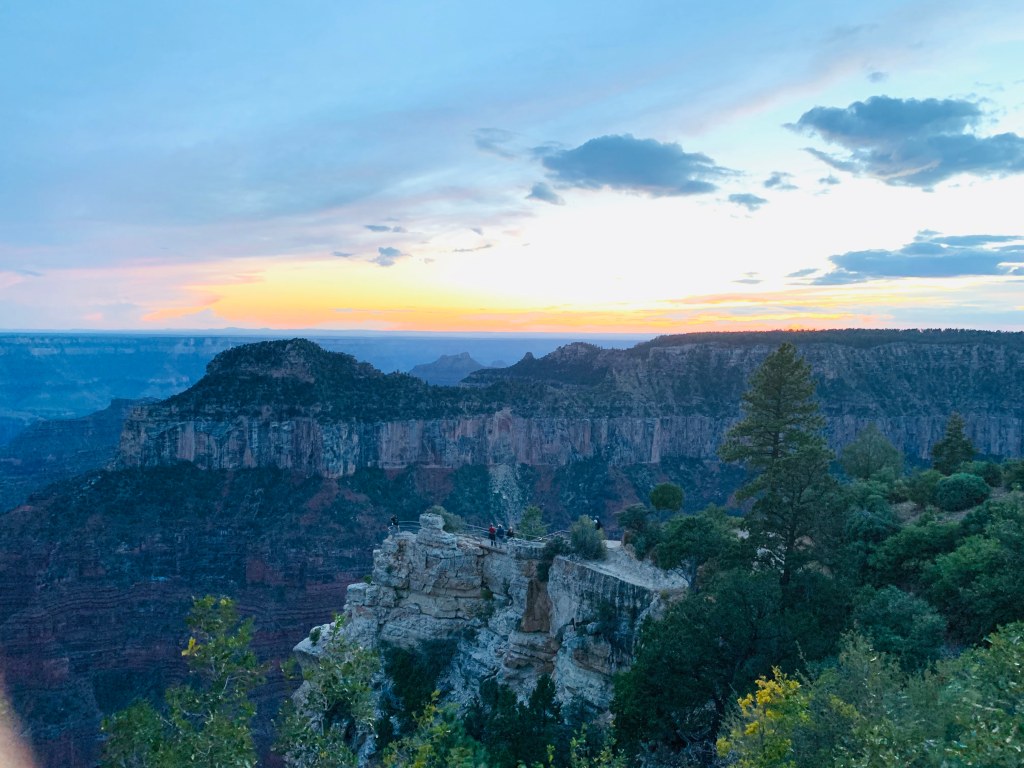
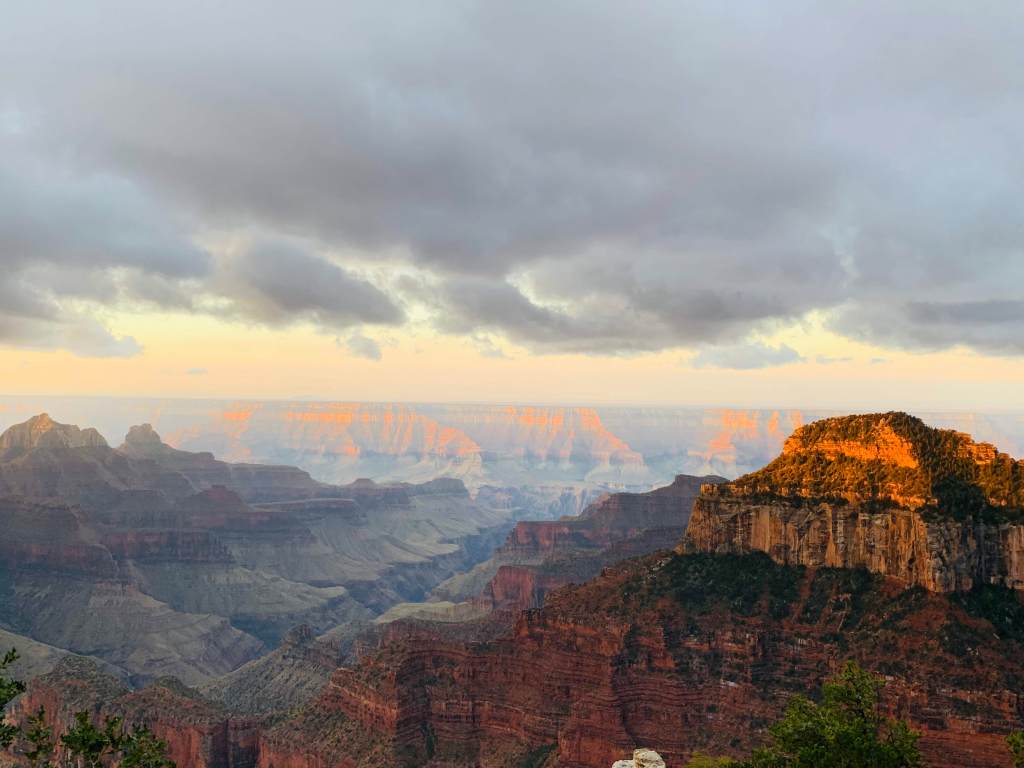
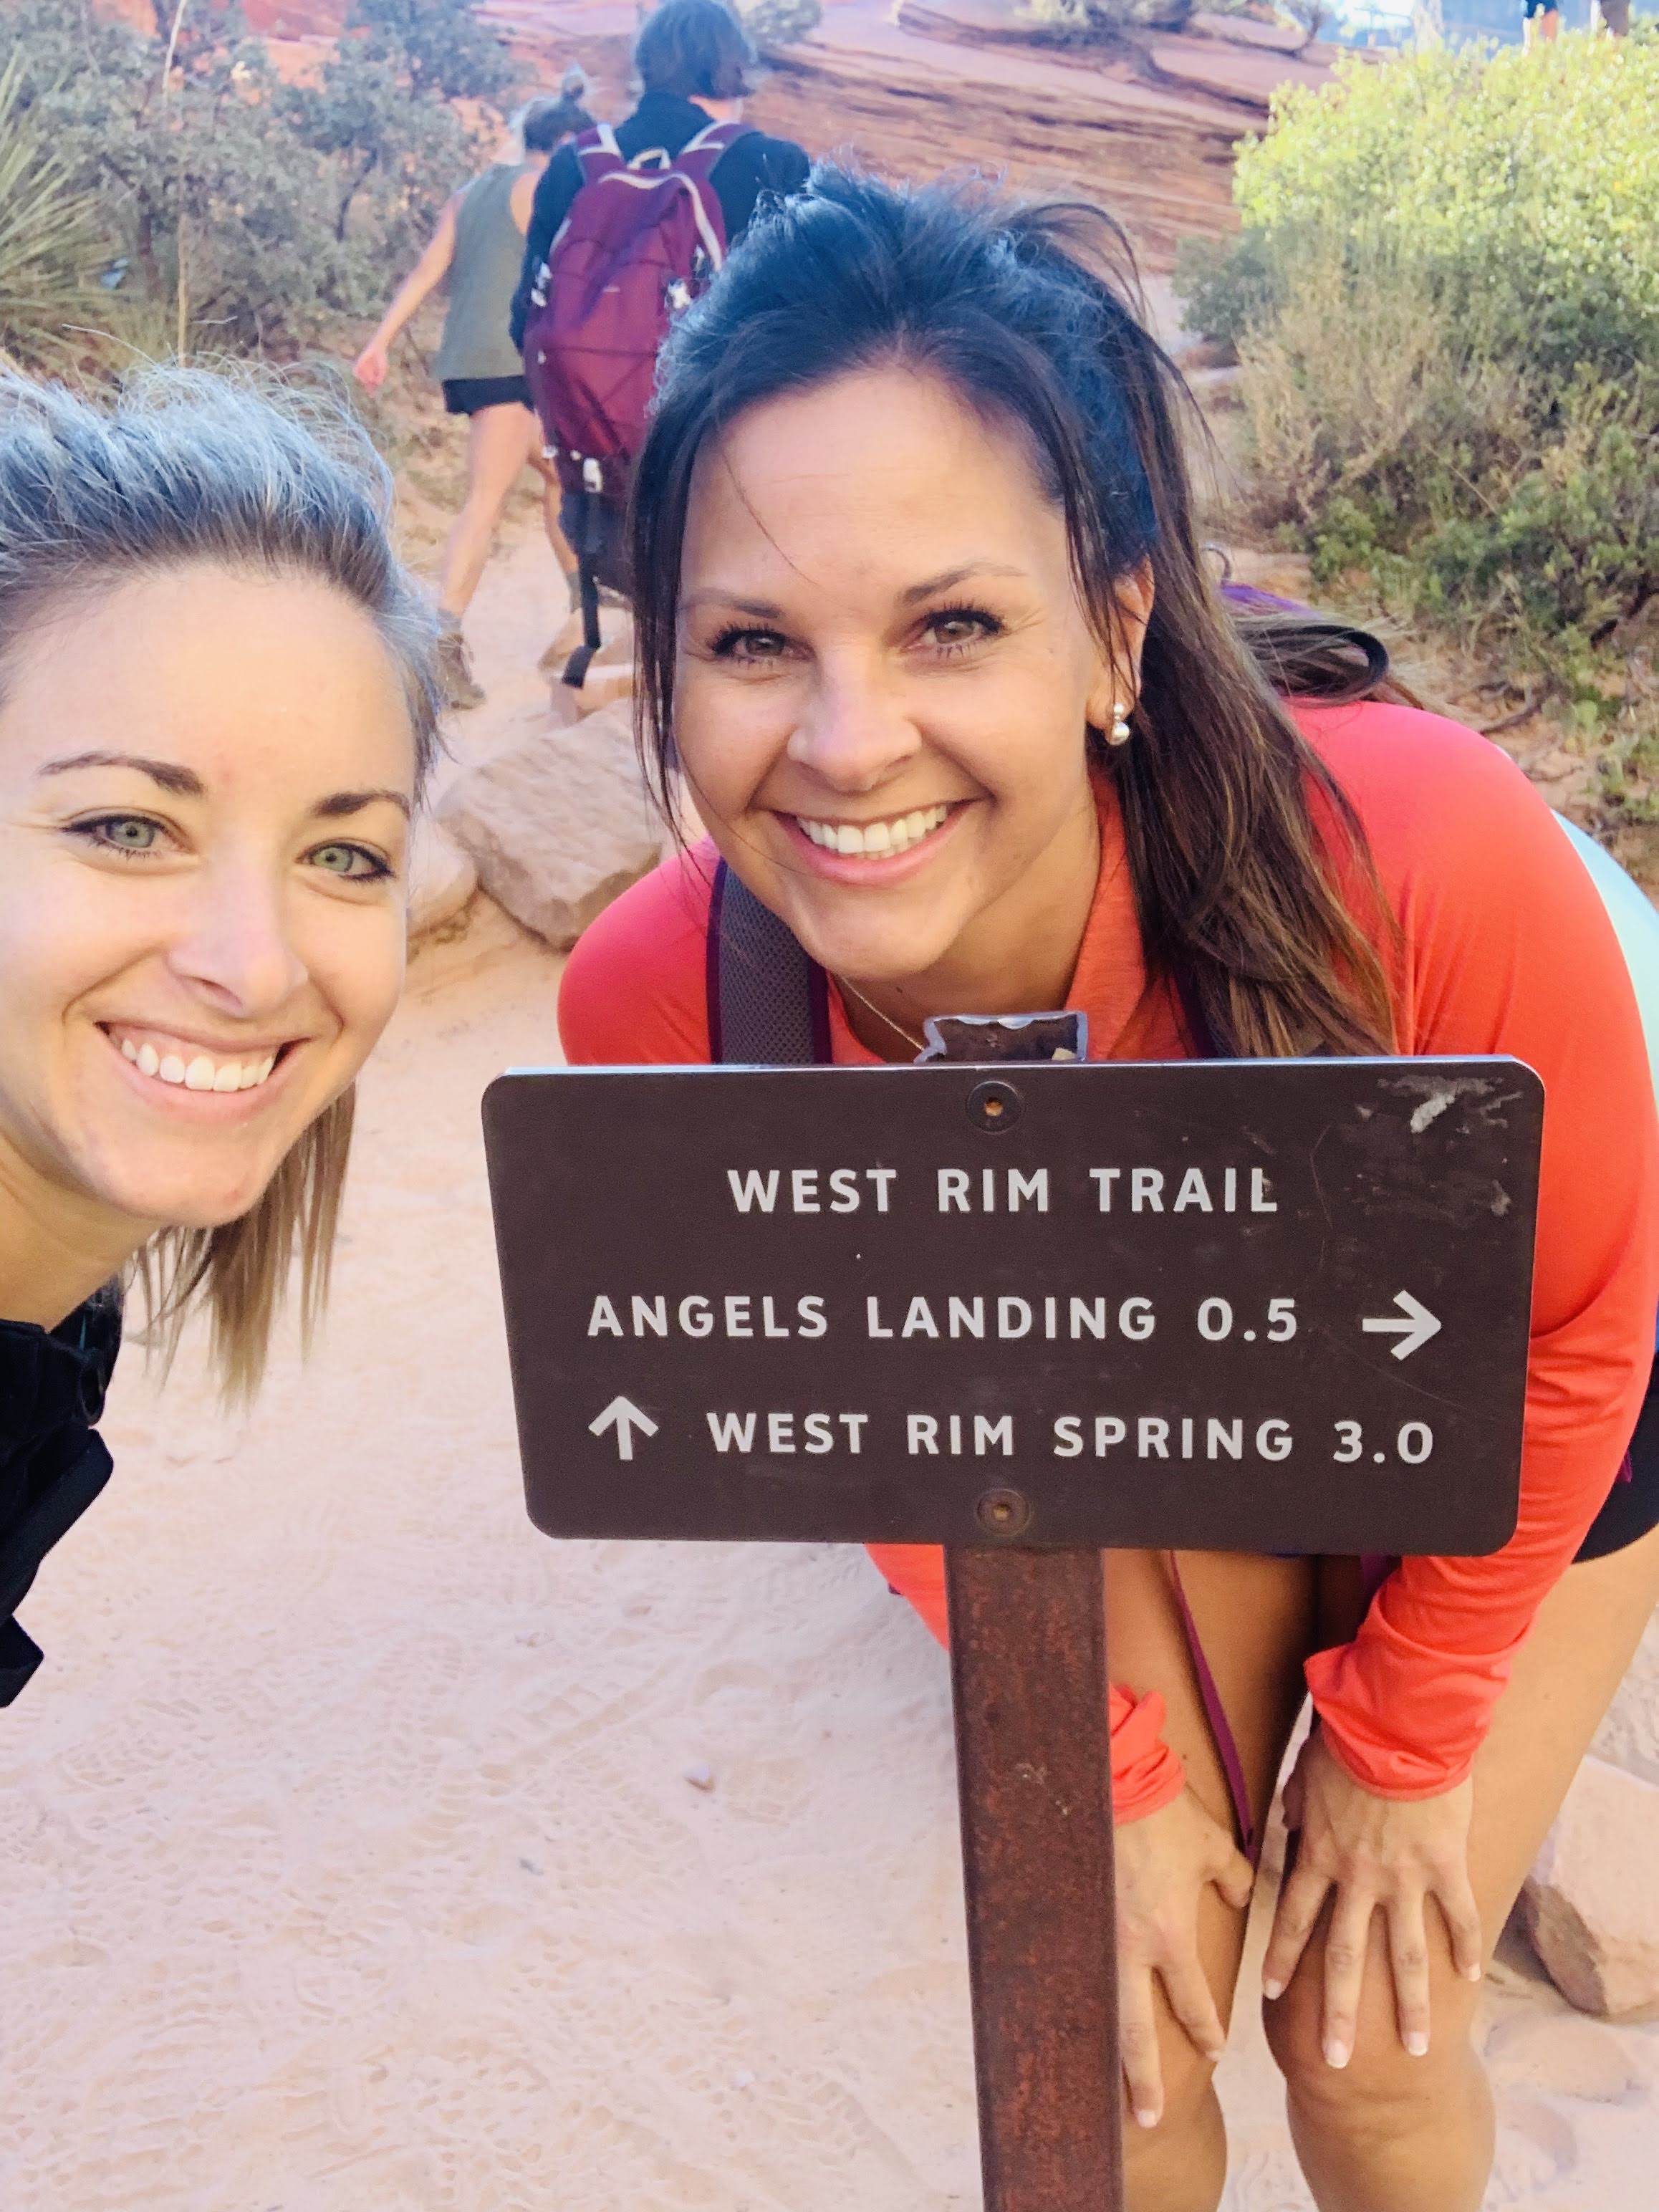
The four of us arrived to the park early at 7 AM to hike Angels Landing-which is the time of the first shuttle. Driving up to the park and seeing the entrance for the first time, I was as excited as a kid in a candy shop (with unlimited spending!)! The vast landscape of mountains, buttes, and canyons was spectacular. The colors we saw ranged from orange to red to white and each view changed throughout the day as the sun shone from a different angle creating new shadows! I was in awe. The park wasn’t busy this early so we used our annual park pass to get in and park right next to the shuttle stop at the visitor center–with no line for the shuttle either! We took the shuttle to stop #6 at the trail head for Angels Landing and started the hike, nerves and excitement brewing.


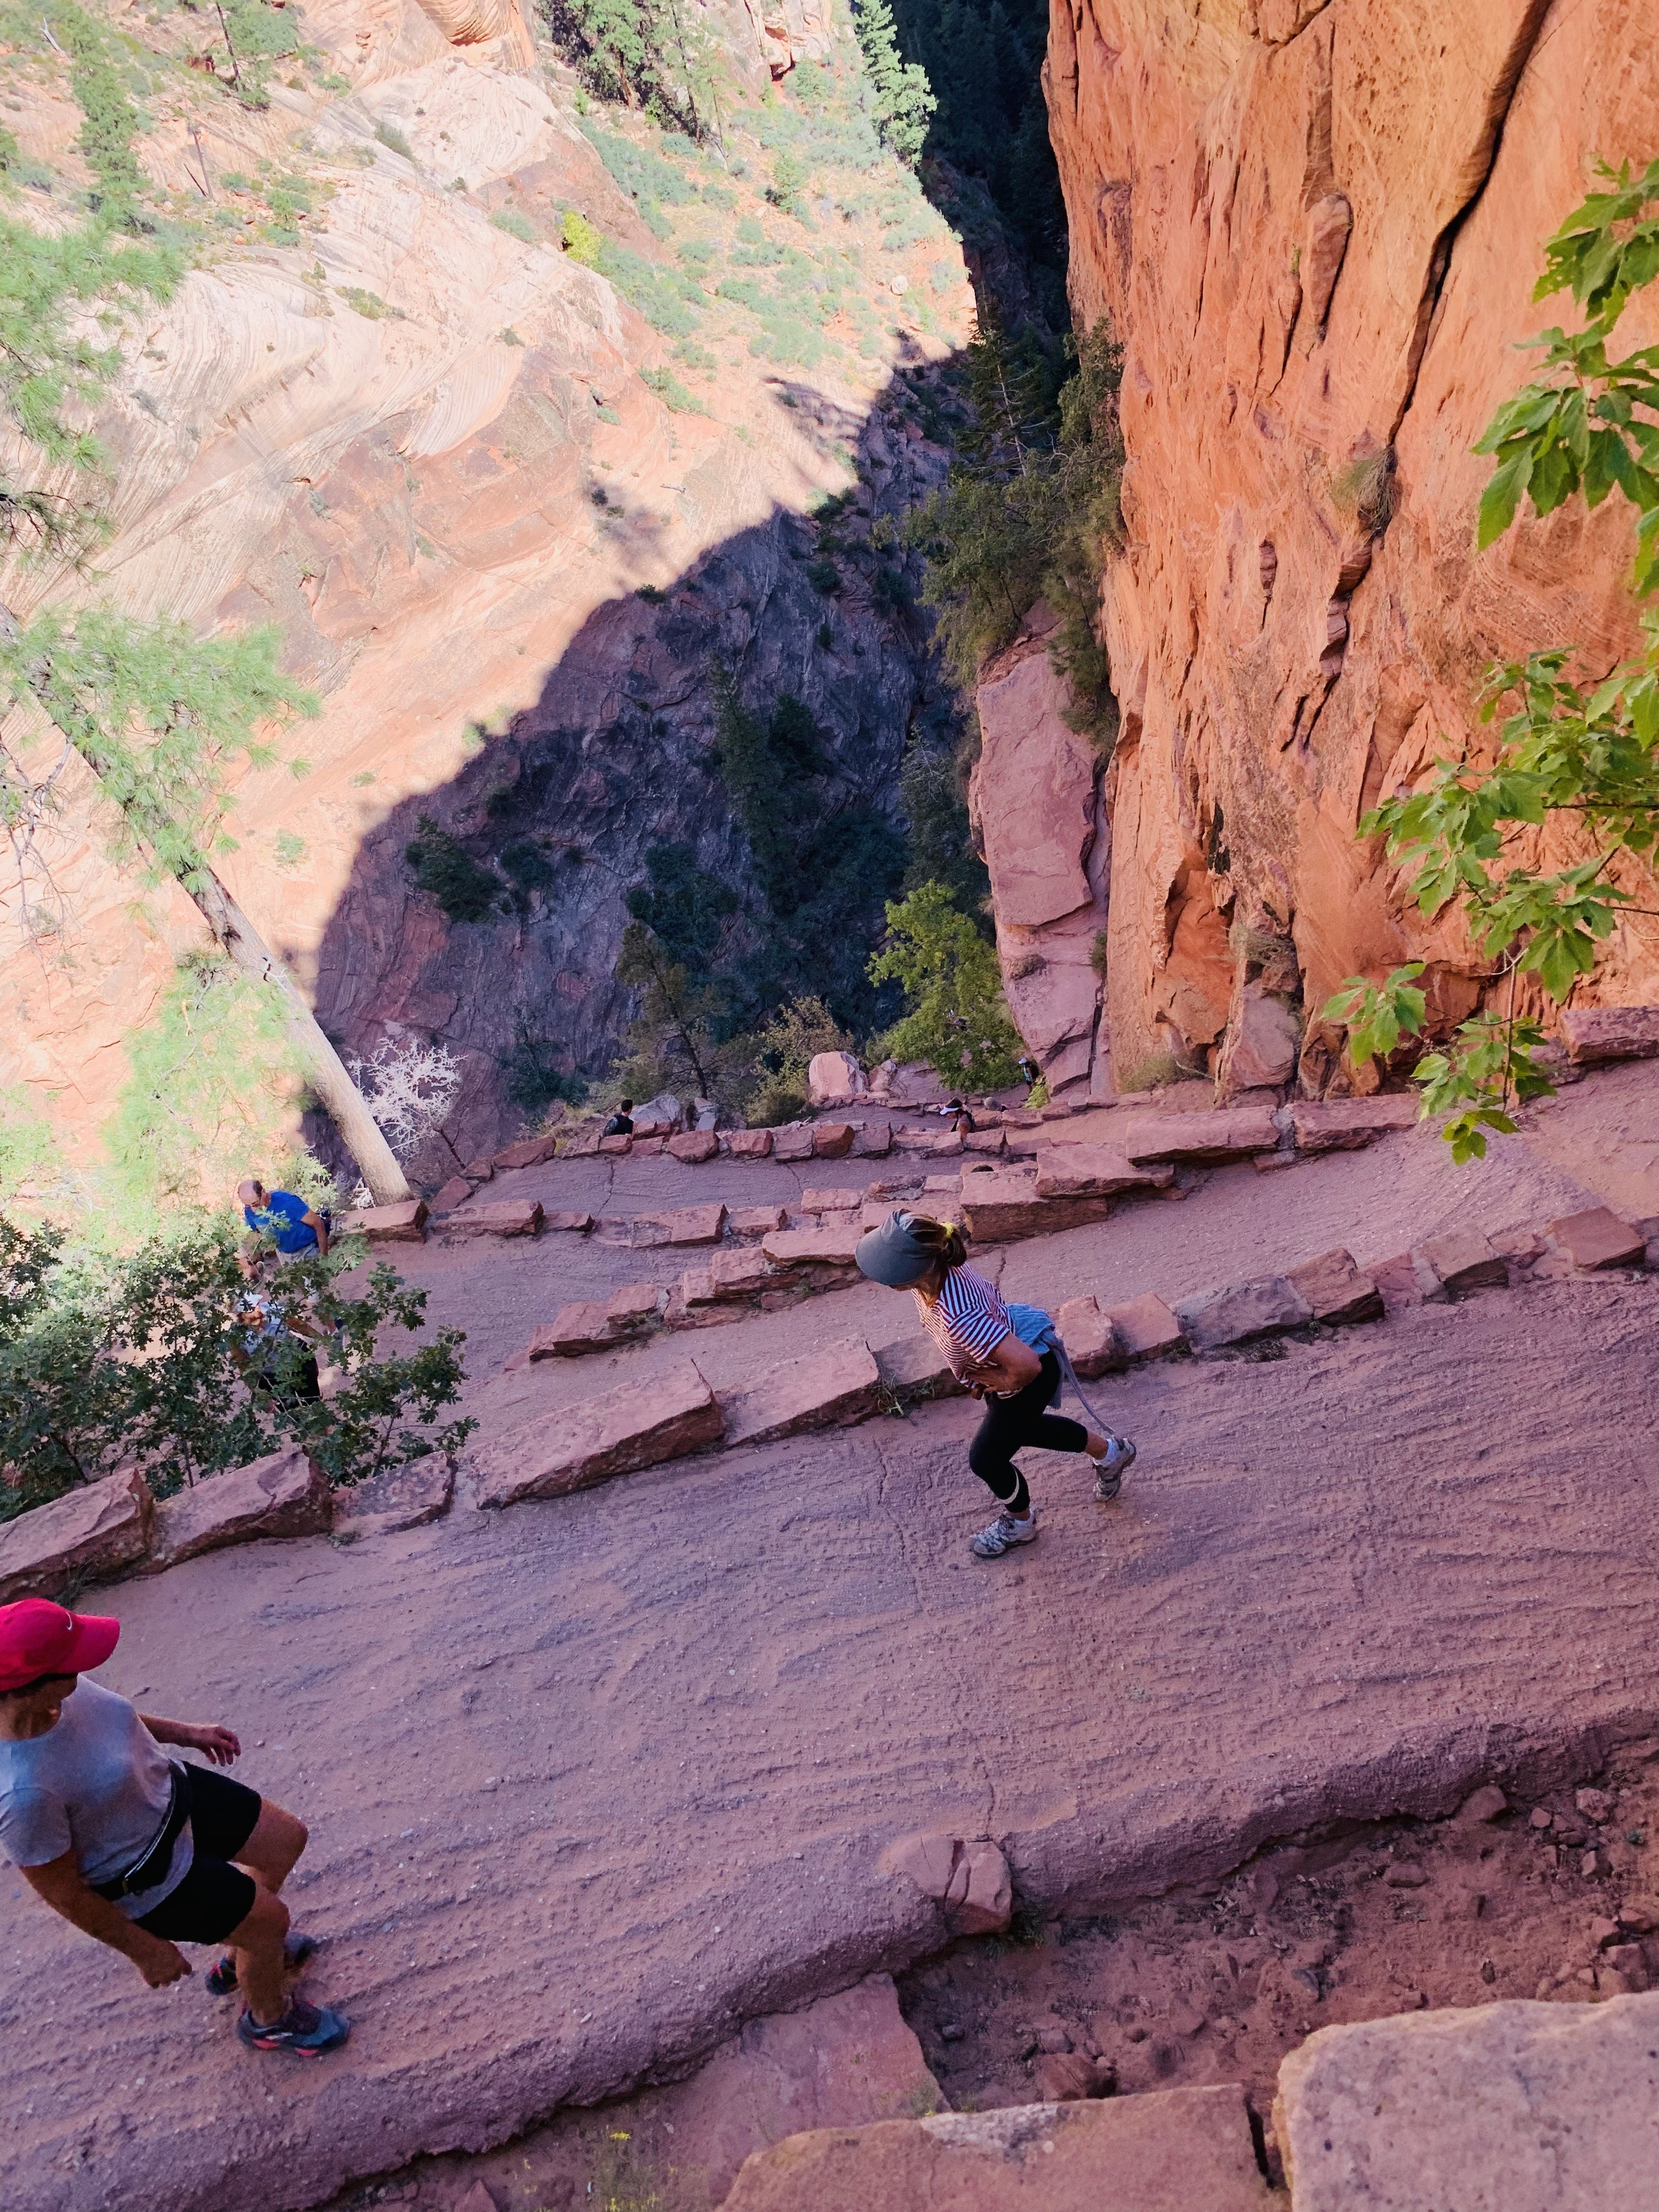
The hike to Angels Landing is ~2.7 miles each way (so 5.4 round trip). The real challenge doesn’t come in until the final mile though as the elevation increases! The total elevation gain is just under 1,500 feet! This hike is considered strenuous due to the length, elevation increase, and dangerous dropoffs. Because we arrived early, the trail wasn’t too crowded and the temperatures were perfect. We each had 2L of water in a CamelBak to keep hydrated and PB&J sandwiches and snacks packed for lunch. Also, I’d recommend putting your phone on airplane mode at the beginning of the hike as well to really soak in the moment and you probably won’t get much service anyway so just do it.
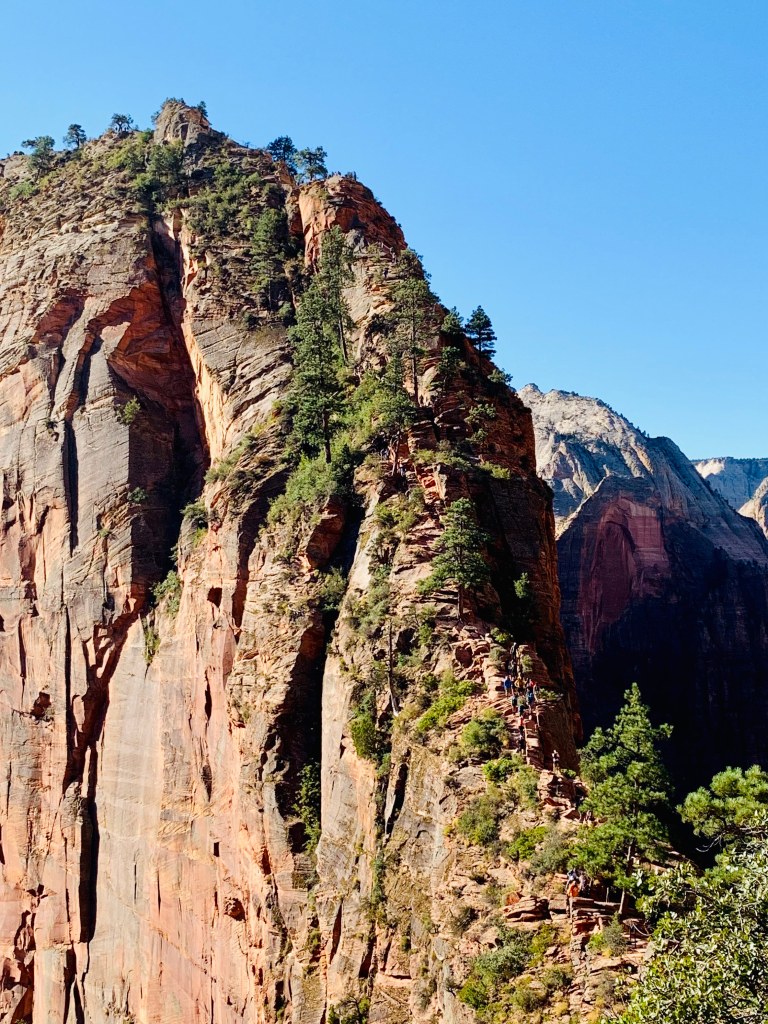
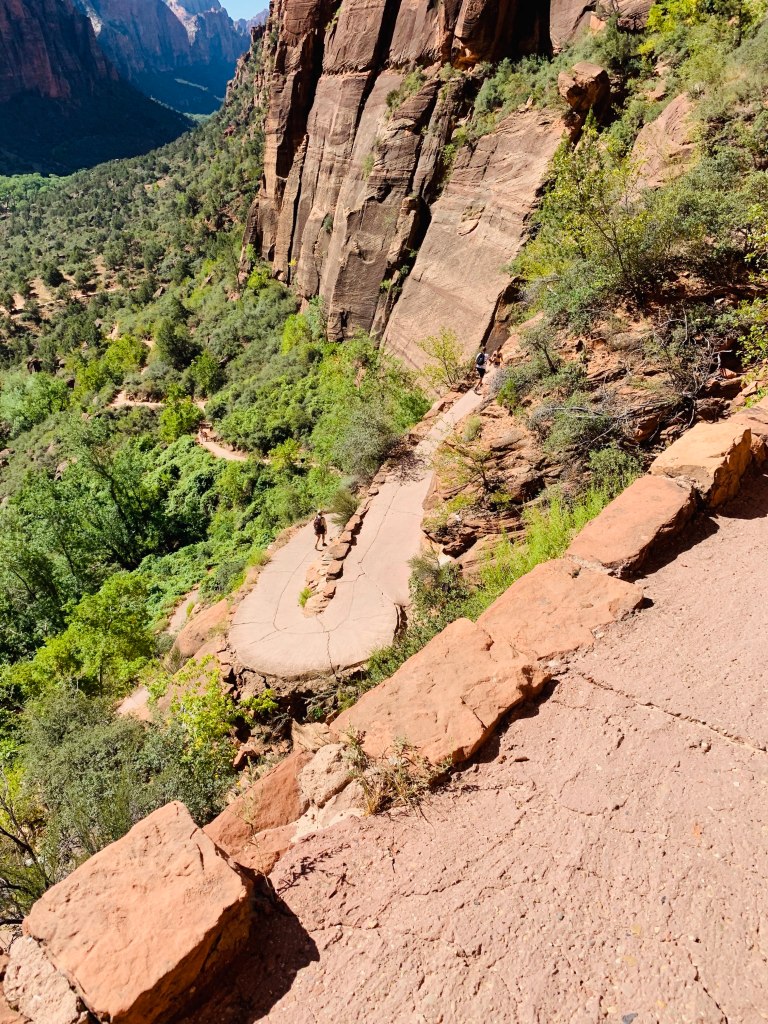
On the way up to the viewpoint, we reached a point about halfway called Walter’s Wiggles, which are 21 short, steep switchbacks (TIP: knowing there were 21 helped me count down aloud to let us know when we were nearing the end of them!). At the top of Walter’s Wiggles, is Scout Lookout where the views are amazing but you have to make the decision to keep going to the part where the trail begins with serious dropoffs on either side of your feet so you have to hold on to the chains, or this is where many people can’t talk themselves into continuing and turn back. I HIGHLY recommend you swallow your fears and continue on and continuously thank those who came before you who installed the chains!!
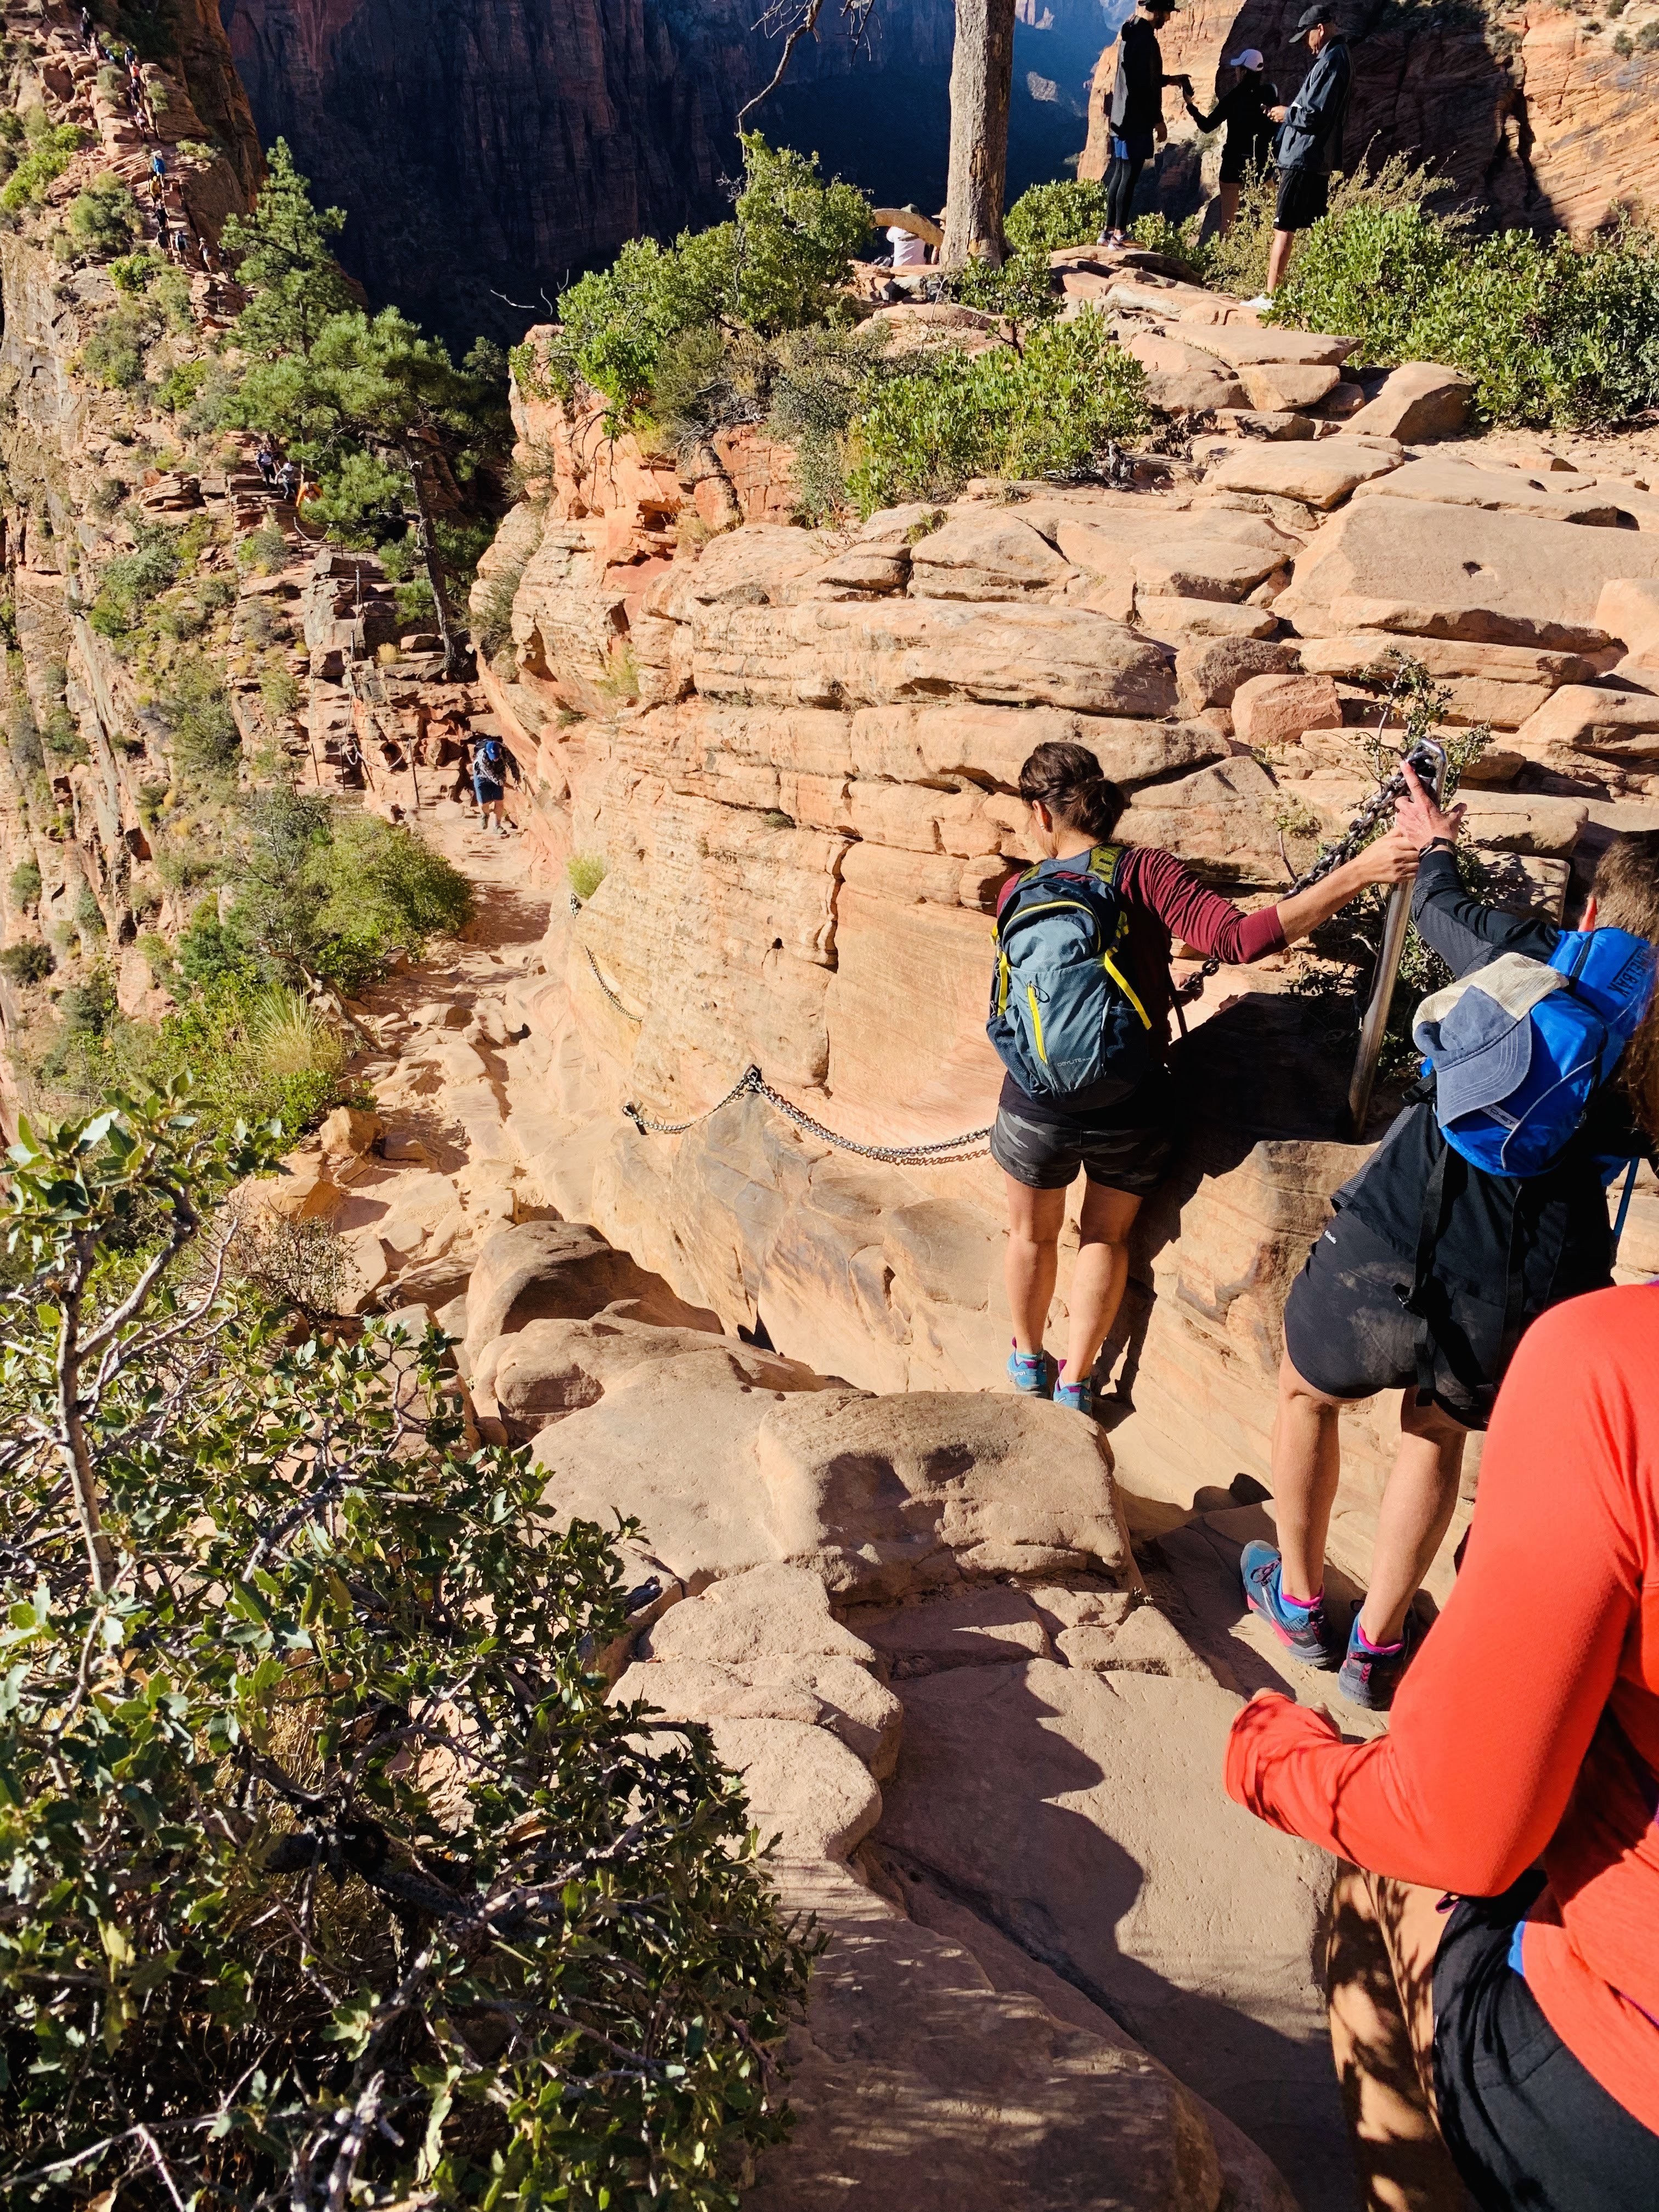

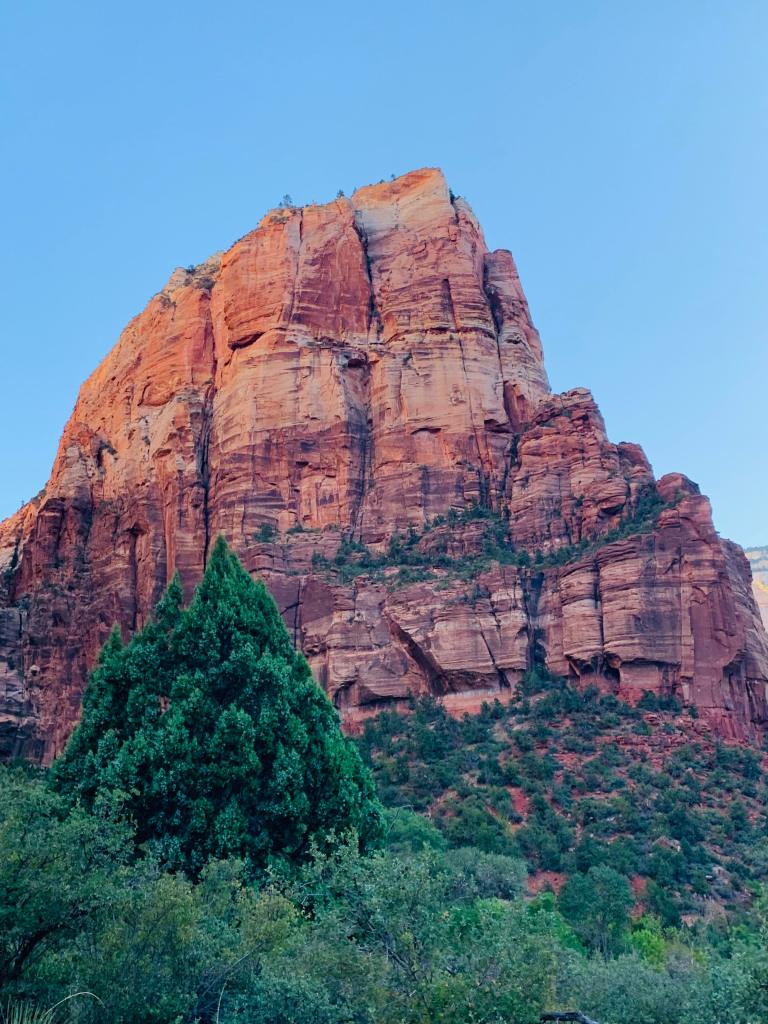
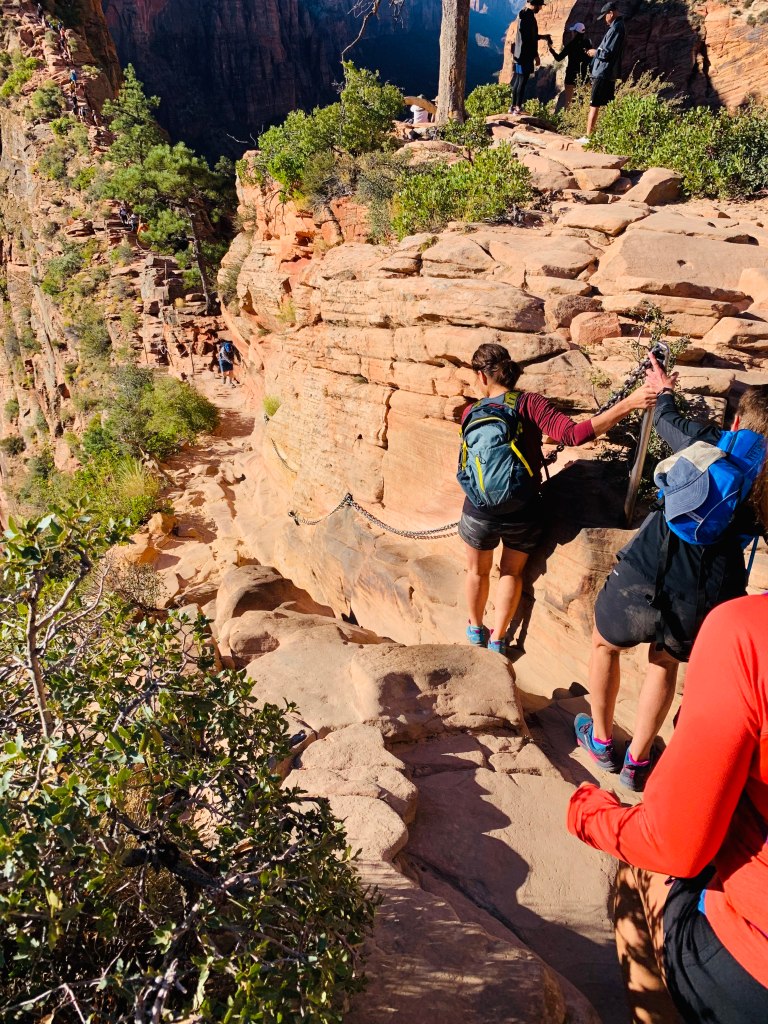
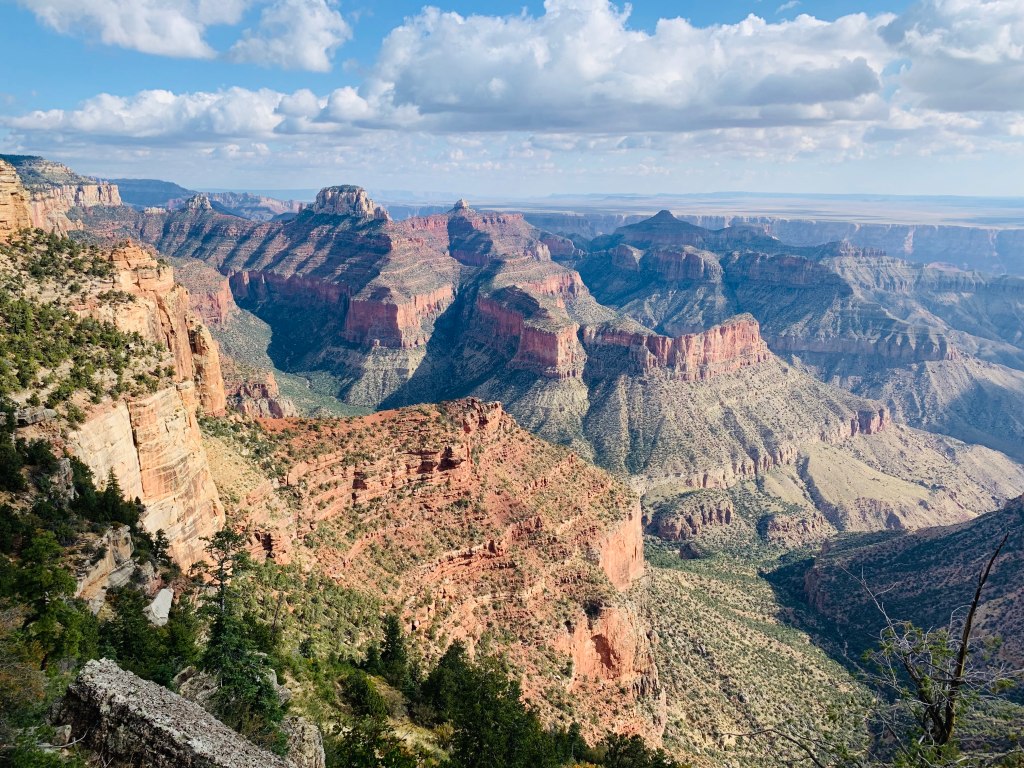
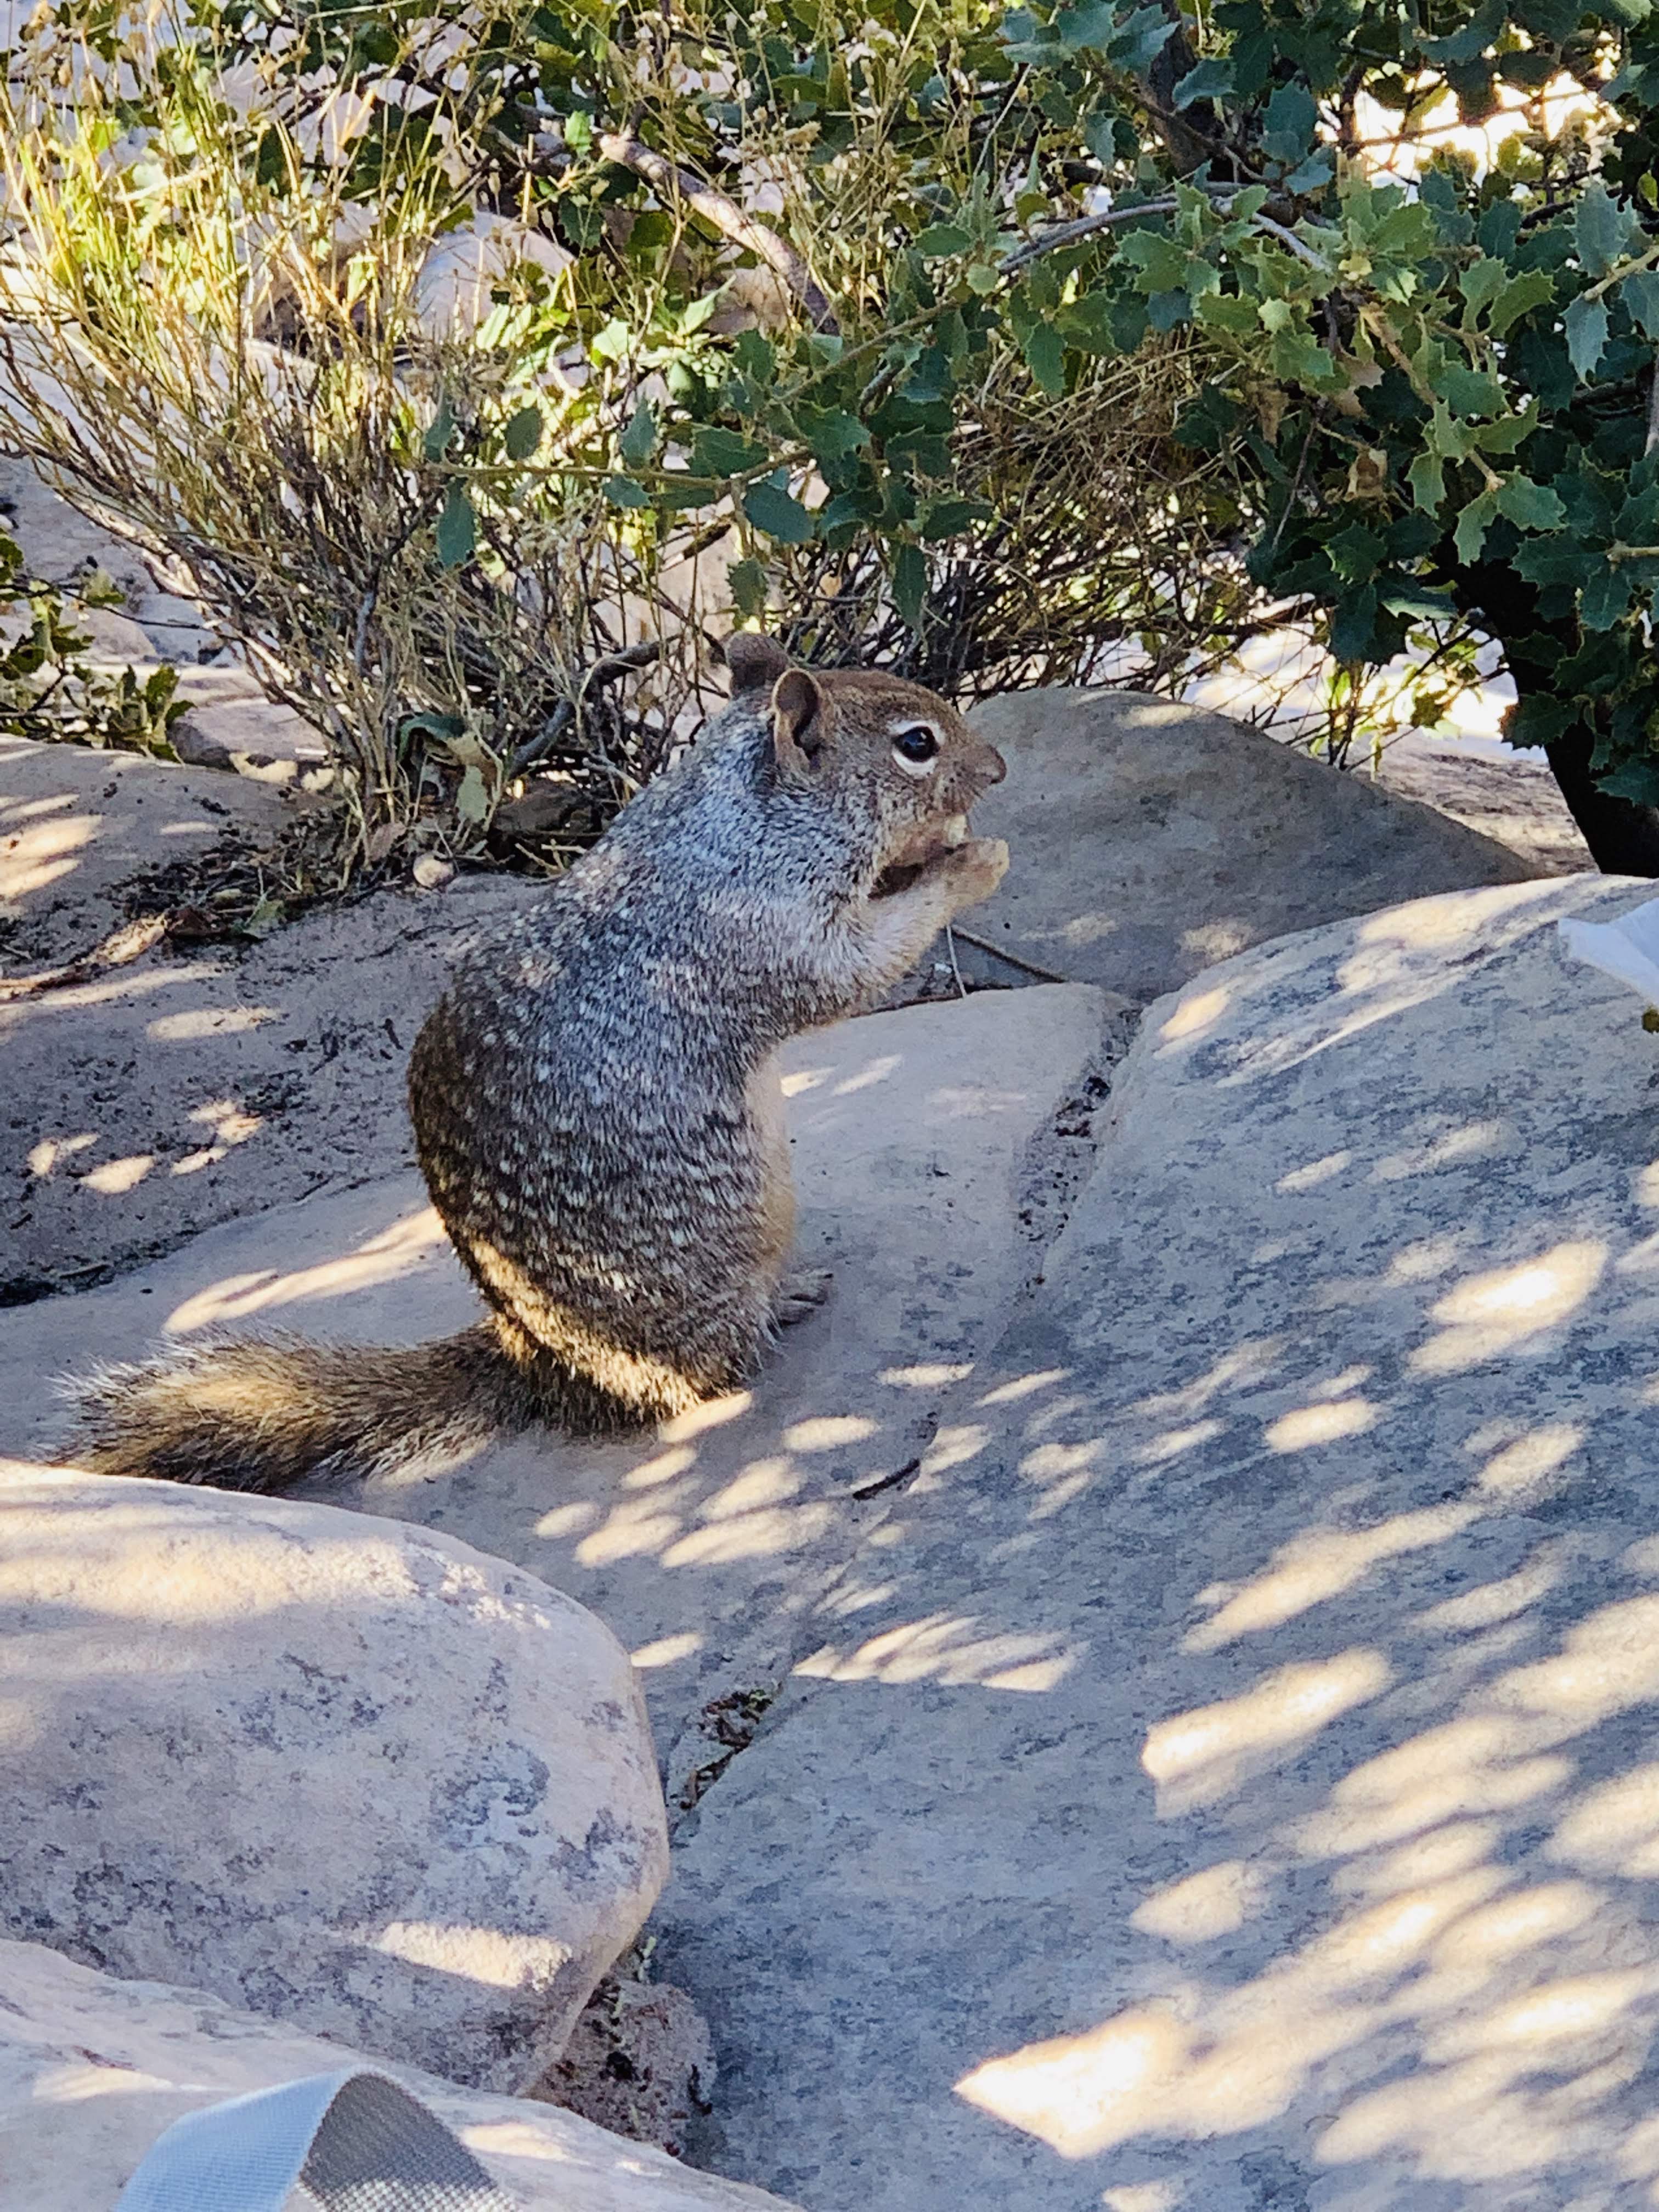
All I can say is THANK GOODNESS for those chains (look closely at the last photo above-you can see people on the spine of the rock! I just kept at least one hand on the chain at all times on the ascent. We went slow and scooted over to let others down the trail when they came by (that’s how skinny the trail is you are on-one person wide!). Eventually, we made it to the top in just over an hour (keep in mind we are deep into marathon training so in good shape endurance-wise for this hike). The views were WORTH the mental and physical intensity of the climb! We sat at the top eating our lunch (a super early lunch @ 9 AM!) and watched the chipmunks try to snag food from people as they ate. Note: I am jumpy and don’t like things crawling on me so I didn’t sit down to eat in fear of the chipmunks-yes, I got laughed at for this!


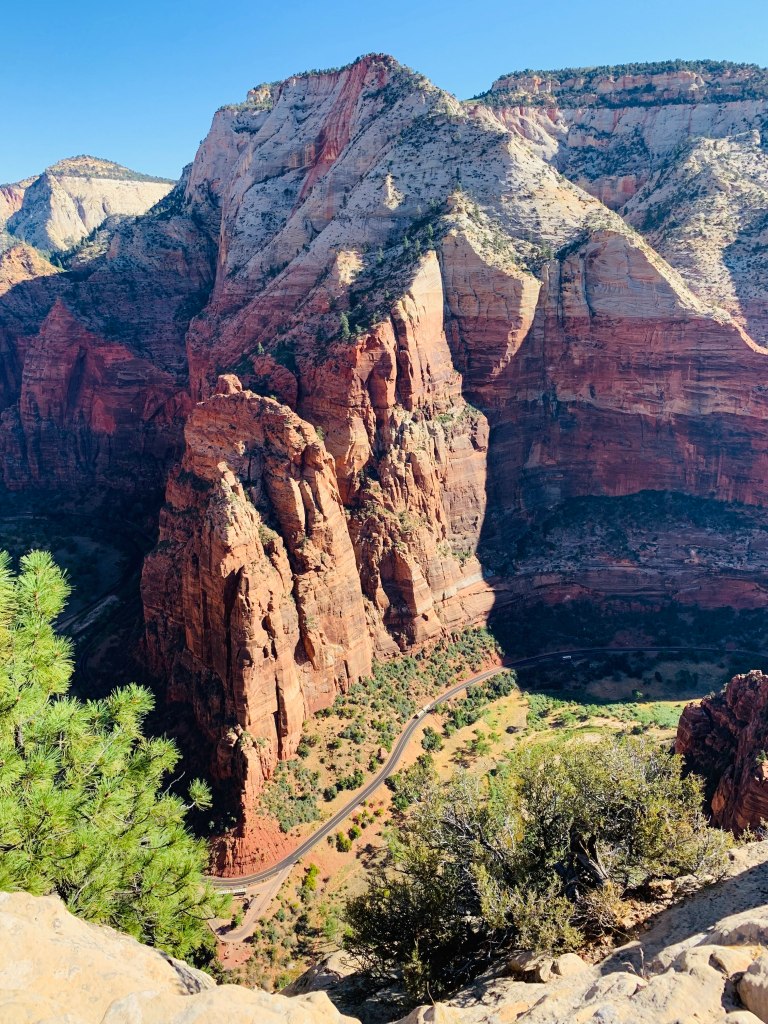
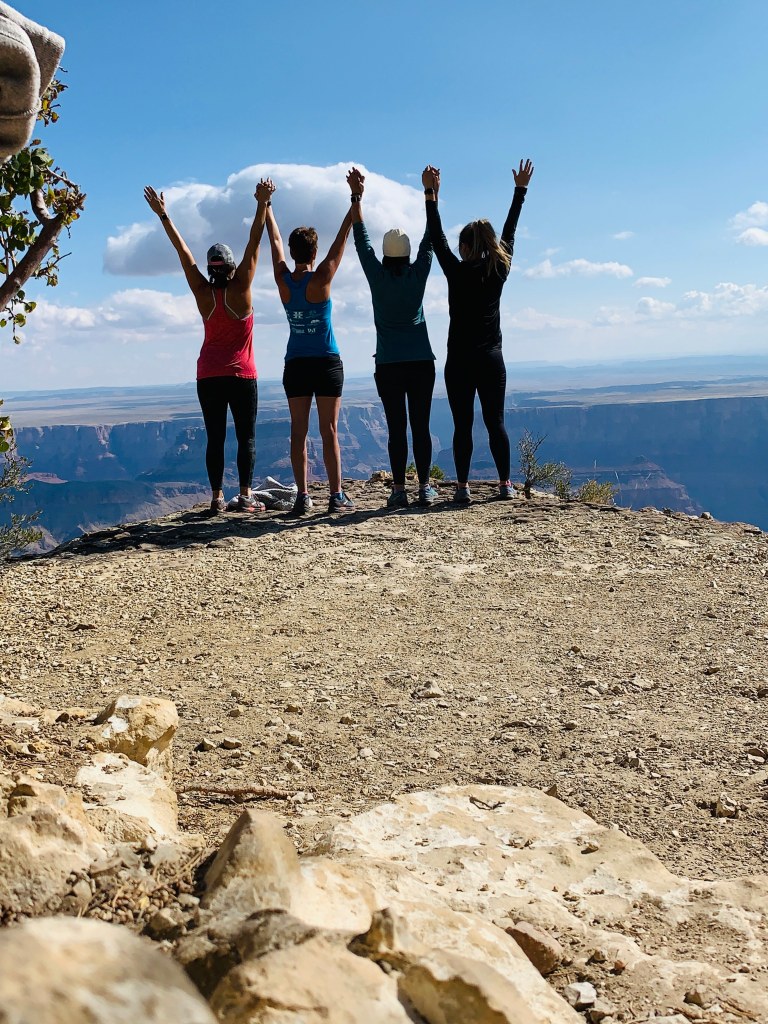
We sat at the top for almost an hour just soaking it all in and enjoying the views we earned. Don’t worry, we made a point to #PracticeSafeSelfies at the top by not getting near ledges while taking photos! Since I basically make every thought I have into a song, I had some fellow hikers at the top chime in for some “Ain’t No Mountain High Enough” (not so loud to disrupt others’ peace though!)! While there were a lot of people at the top, it didn’t feel overly crowded due to the time of day we went. On our descent, however, around 9 AM, there were big crowds heading up to the top that slowed us down. Just be ready to take your time, be patient, and don’t let the little things ruin your moment of the hike! How the heck can you be mad when you have all that beauty surrounding you?! We worked our way down the chains, Walter’s Wiggles, and eventually back to the shuttle. In all, the hike to Angels Landing was scary at times but SO FREAKING WORTH IT!

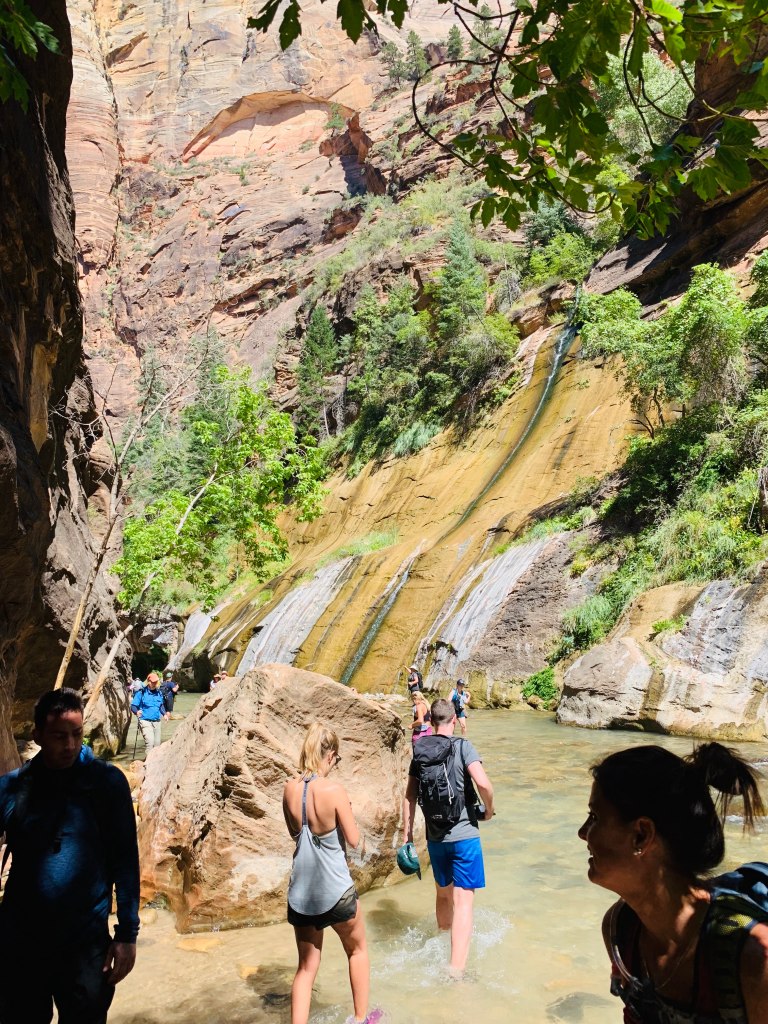
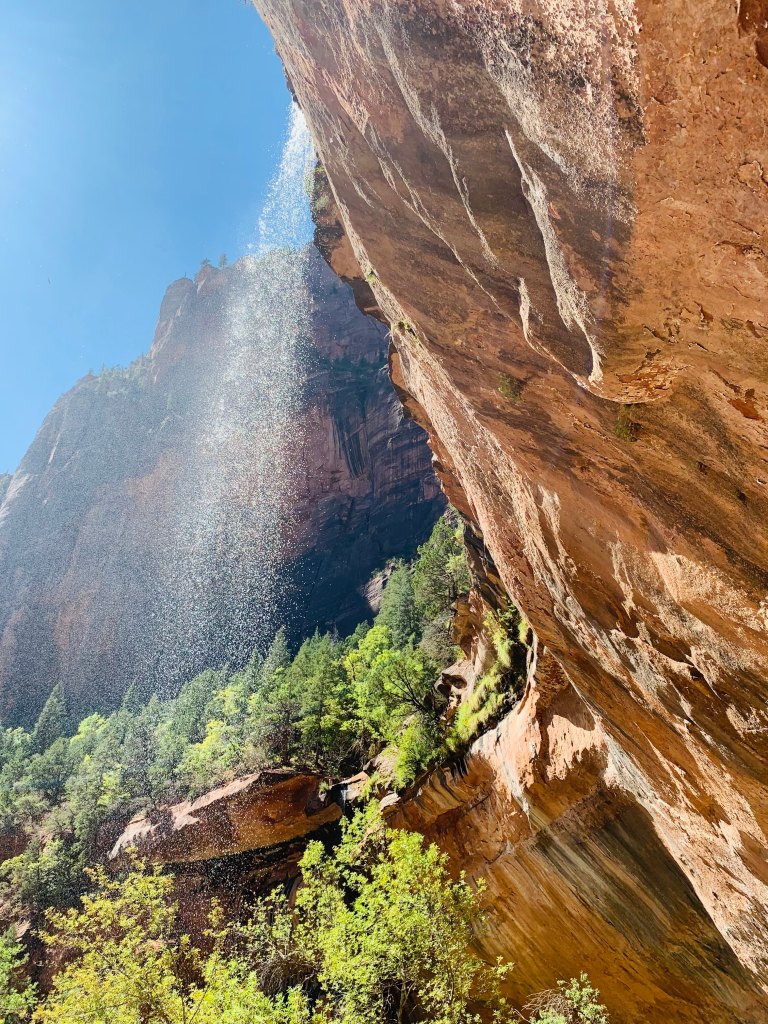
We finished that hike earlier than expected and didn’t want to leave the park yet so we hopped on the shuttle and rode back to stop 5 to go to Lower Emerald Pools. We wanted to see Upper Emerald Pools but the rock fall made it temporarily closed. The walk to the Pools was super easy (~half mile and flat). We stayed for about 30 minutes taking in the view of the water and the rainbows the reflecting light created. The falls were sparse due to the heat and lack of rain but they were still beautiful!

Finally, it was time to head to our car around 2 PM when the crowds were flowing in and we were heading out. We went to a restaurant in Springdale for an early dinner where we celebrated our hike with a margarita then headed to pick up our packets for our Half Marathon the next day in Hurricane, UT (yes, we ran a half marathon the day after hiking Angel’s Landing)! We ended the day at our Air BnB which was in a certified dark sky community which was perfect for stargazing and seeing the Friday the 13th Full Moon!
Have you hiked Angels Landing or do you plan to? Tell me about your thoughts!
-Go explore, friends